
In the course of writing a series of articles entitled ‘IoT without the Breadboard’ I came across an issue that I felt could be fun to resolve. The issue is how to copy to and execute on a Raspberry Pi a compiled Java application. As a NetBeans Dream team member my IDE of choice is NetBeans.
If you are already a NetBeans user playing with Pi systems, you already know it can be done if you create a native NetBeans project. My issue derives from the fact that I use Maven rather than NetBeans or any other IDE’s internal build system.
NetBeans has the capability to use an internal ssh client to copy a file to a remote Linux based system, such as a Pi, execute the code, and display its output in the NetBeans console window. This really cool standard feature is not available if the project is using the Maven build system.
So why don’t I just ditch Maven? As a teacher I believe that it is important for students to learn how to build projects independent from the IDE. When I teach Java I want my students to submit code that is IDE agnostic. My Raspberry Pi project is personal but I felt that it would be hypocritical of me if I chose not to use Maven when I rant and whine at programmers who don’t use it.
There are two solutions to getting code from a Windows PC to a Linux PC. The solutions should work with any Linux based system and any version of Windows.
Here is the first solution. The next solution will be in the second part of this series.
Solution #1 Multiple Tools
My real interest in coding but I realized I was going to have to be a DevOp to make this work. There are three tasks to accomplish. First I have to write and compile my Java code and for this I use, of course, NetBeans. Secondly, I need to copy the jar, war or ear file to my Raspberry Pi. For this I chose Filezilla, https://filezilla-project.org/ .
The third task is to execute the Java program from the command line. Here I was excited to find a program called xrdp, http://www.xrdp.org/, that runs on the Pi and allows me to use Microsoft Remote Desktop to access the Raspbian OS desktop on my Windows machine. To install xrdp you need to open a terminal window on your Pi that I assume you have currently connected to a keyboard, mouse and display. Here is a good article on installing xrdp, https://www.maketecheasier.com/enabling-remote-desktop-access-on-raspberry-pi/ . From this point forward you should rarely need to connect a keyboard, mouse and display to your Pi, use Remote Desktop instead.
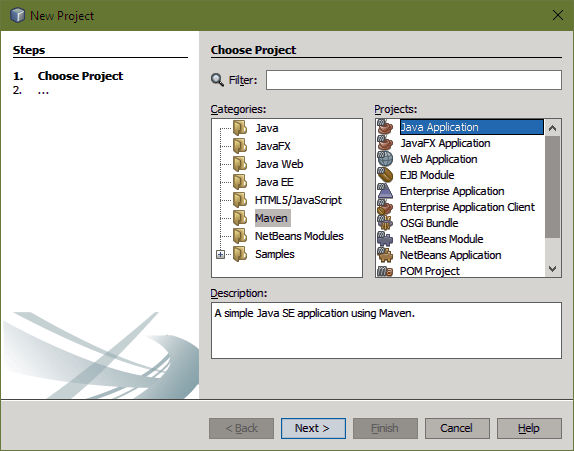
With NetBeans I created a new Maven Java Application.
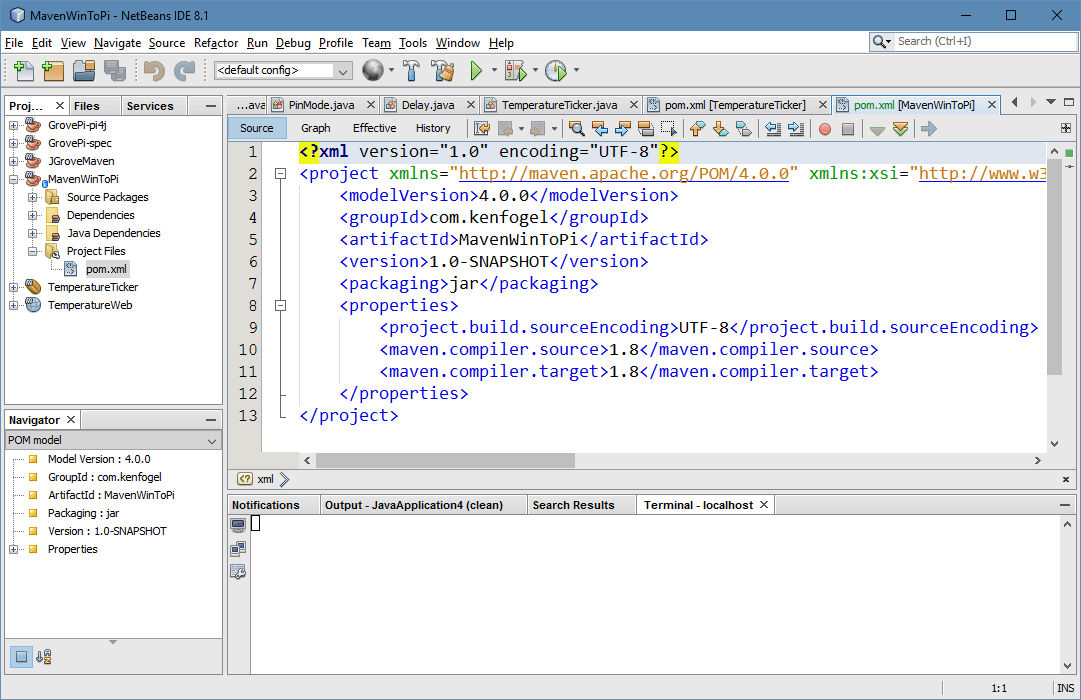
When the project is created by NetBeans this is what the pom.xml file should look like. If you are using an older version of Java or NetBeans it may be slightly different.
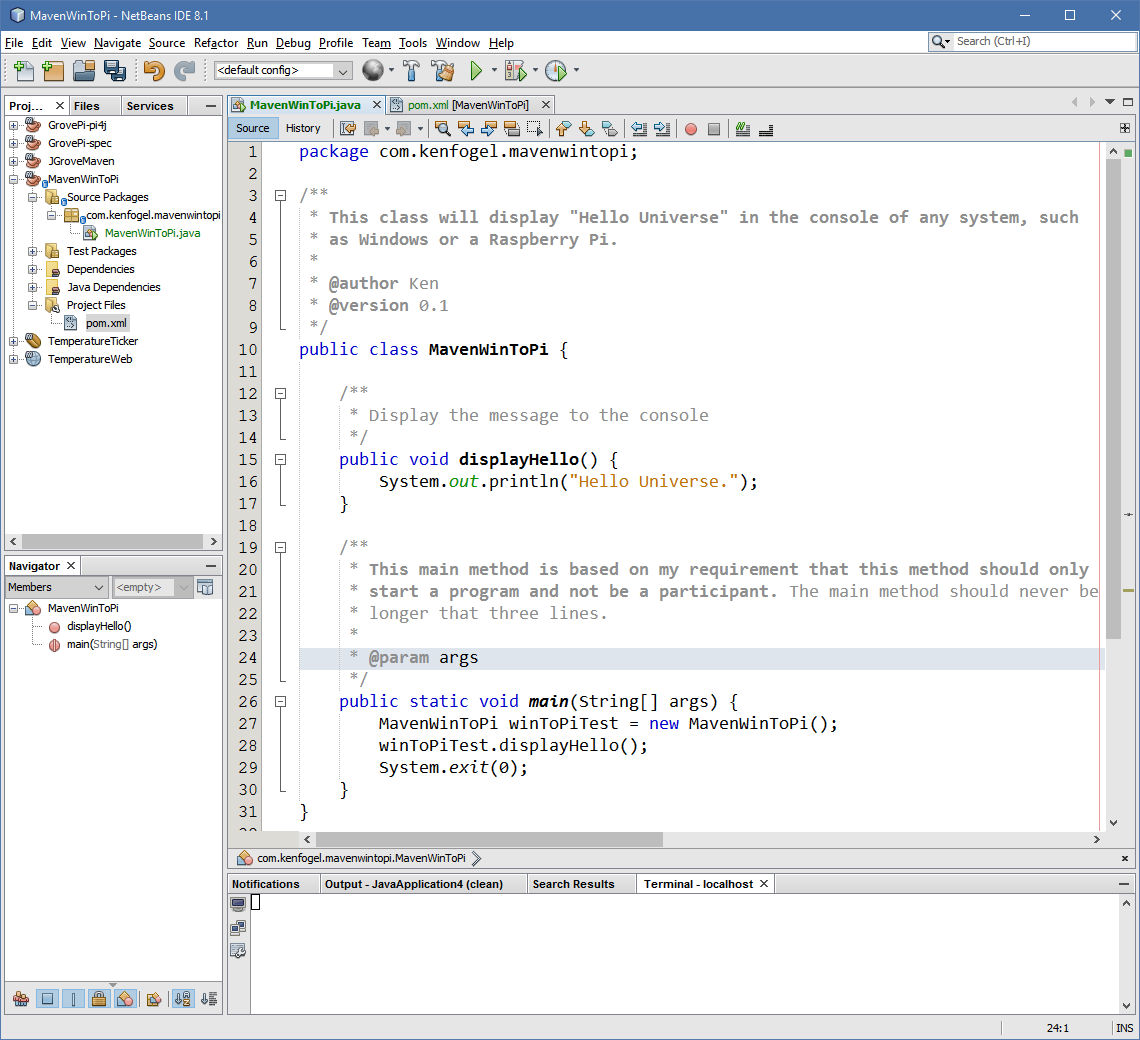
In the project I created a single class that simply writes to the console “Hello Universe.” when run.
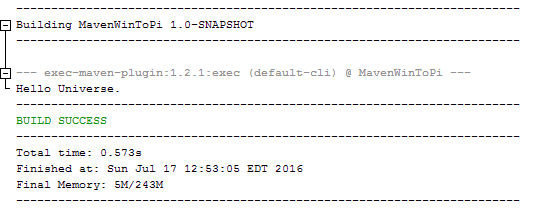
Running the project now will output the message “Hello Universe”.
Now you need to transfer the jar file to the Raspberry Pi. Start up Filezilla. If you are unfamiliar with Filezilla then you can use other programs such as PuTTY or WinSCP. There are probably many others that will allow you perform a secure copy from Windows to a Linux system.
Using Filezilla, locate the folder ‘target’ in the MavenWinToPi project. In this folder you should find a jar file. If there is no jar file, go back to NetBeans and perform a Clean and Build on the project.
Now connect to your Raspberry Pi. Here is the Filezilla display after locating the target folder and then configuring the connection. You will need to know the IP number of the Pi. I use my router’s control panel to see what internal (192.168.x.x) number it has been given.
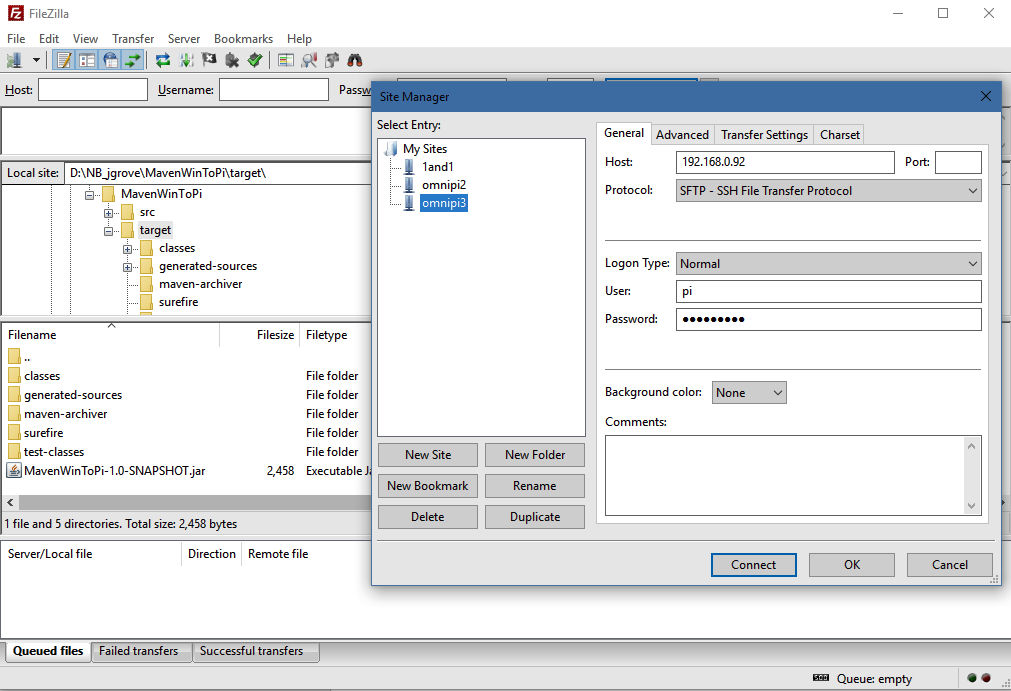
Take note of the file name of the jar file, in my case its ‘MavenWinToPi-1.0-SNAPSHOT.jar’. Click on connect and you should see your home directory on the Pi.
If this is the first time that you are using this program, you will be asked to accept the unknown ssh key from the Pi. If the IP number of your Pi changes, you will also be asked to verify the key again.
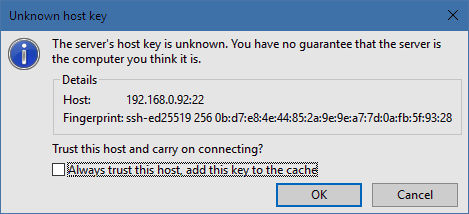
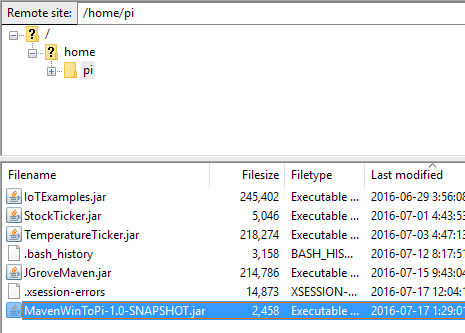
Check off the ‘Always trust . . .’ box otherwise you will have to approve the host key every time you connect. Assuming that all has gone well you should see your Pi on the right side of the Filezilla window.

Now you need to transfer the jar file. Right mouse click on the file and select upload.
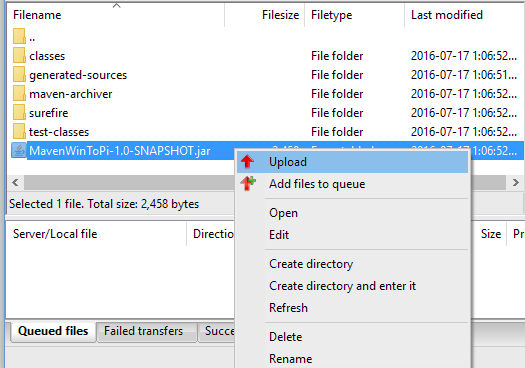
Your jar file should be transferred to the Pi.
Now its time to execute the code. On Windows run the Remote Desktop Connection and configure it to connect to your Pi. You can let windows hold the user name and password or have it ask you for them for every connection. I let Remote Desktop hold my credentials.

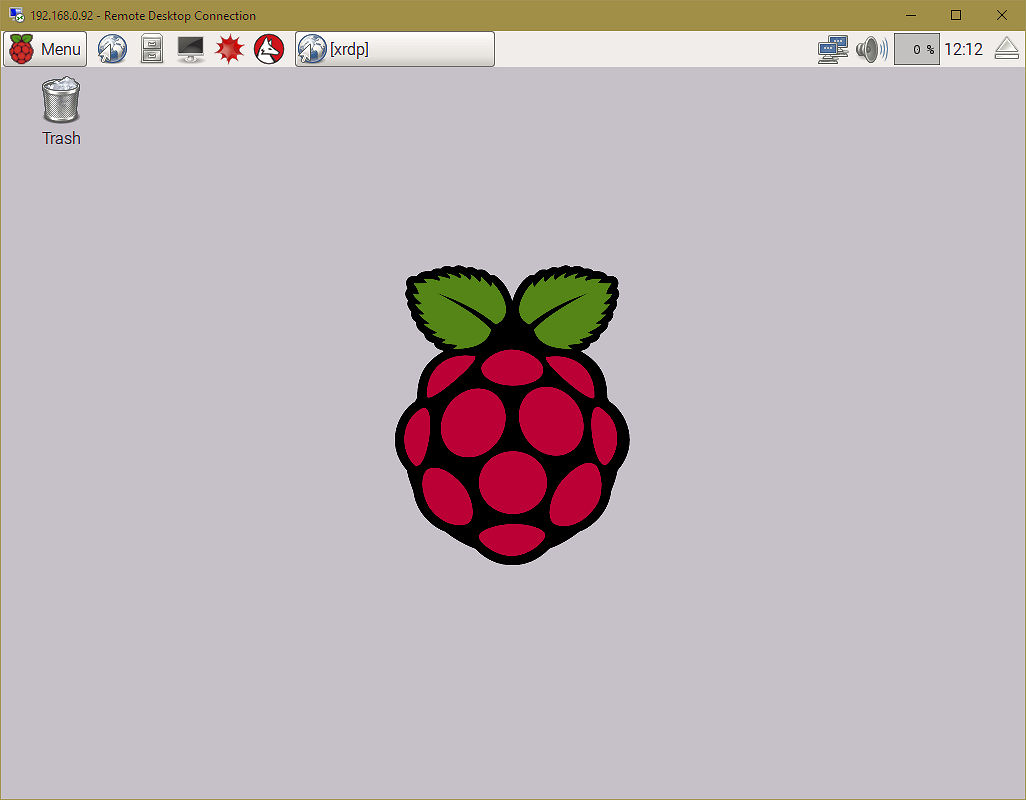
By default Remote Desktop will open full screen when it connects. I set the Display option to 1024 x 768 so that the Pi is running in a window I can move around. If all has gone well you should see:
Open a terminal window on the Pi. You should now be able to execute your program at the command line by entering:
java -cp MavenWinToPi-1.0-SNAPSHOT.jar com.kenfogel.mavenwintopi.MavenWinToPi
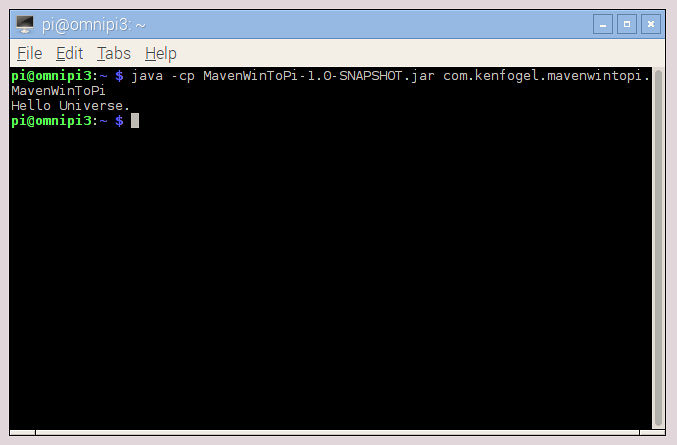
You should see Hello Universe.
This workflow for Java development for a Raspberry Pi works well and you don’t need to read any further. It is your only option if the program is interactive in the console or has a Swing or JavaFX GUI. If you are interested in automating this further so that everything happens in NetBeans, read the second article in this series.