In 2012 Seeed Studios of China introduced the Grove System of modules for the burgeoning IoT sector. Seeed used the classic model of simplification, Lego. In the world of Lego you just push bricks together. Seed developed the Grove System to be that easy to use. Of course nothing is quite that simple, not even Lego. None the less, the Grove system was made for breadboard impaired developers like me.
When initially introduced it was and still remains agnostic towards whatever processor you are working with. As long as your processor system, such as either an Intel Edison or a Raspberry Pi, has GPIO pins you can use the Grove. The individual devices are mounted on a circuit board with all the necessary support components. A 4-pin connector allows you to plug the module into the processor’s board.
The Grove modules fall into specific categories. These are:
- Environmental Monitoring modules
- Motion Sensing modules
- User Interface modules
- Physical Monitoring modules
- Logic Gate modules
- Power modules
Here are some of the modules.
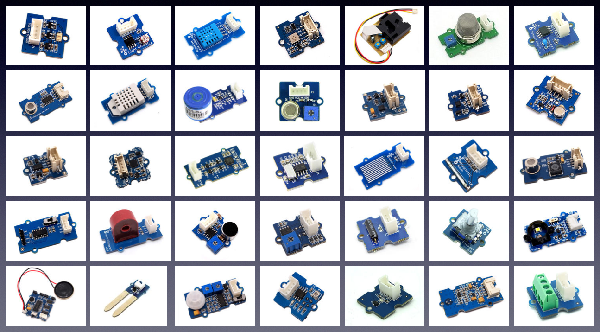
Figure 1 For a complete list of what is available go to http://www.seeedstudio.com/wiki/Grove_System
The second part of the Grove system is the shield. A shield is what is properly called a daughter board. When the Arduino system was introduced they repurposed the word shield to mean daughter board. There are some unhappy engineers as a result of this because the term shield is supposed to mean “a conductive layer that prevents capacitive coupling to whatever you are trying to protect with the shield”. I also read that the Arduino folks also decided to rename programming as sketching. Here is what a basic Grove system looks like as sold by Seeed Industries.
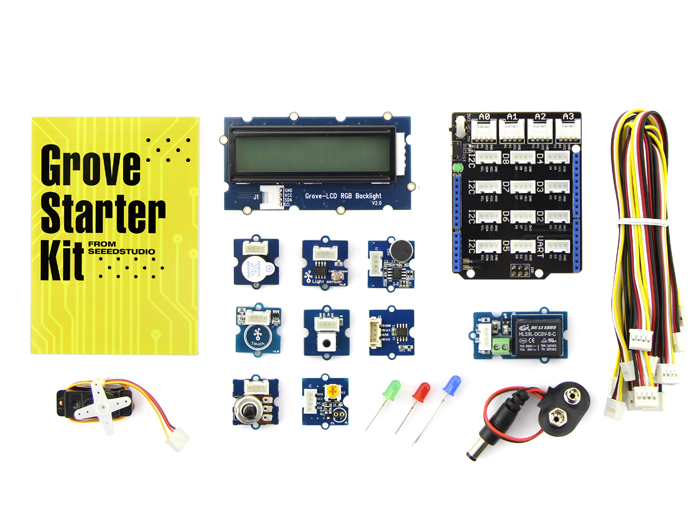
Figure 2 From https://www.seeedstudio.com/Grove-Starter-Kit-for-Arduino-p-1855.html
You can see the shield between the LCD Display and the cables. The shield in this kit is designed for the Arduino system board. This particular kit sells for $49 USD.
In a collaborative project between Seeed Studios and the US firm Dexter Industries a shield for the Raspberry Pi was developed. The most recent version of this shield is called the GrovePi+ and it will connect to all models of the Raspberry Pi. The shield makes use of the same processor as found on an Arduino board.
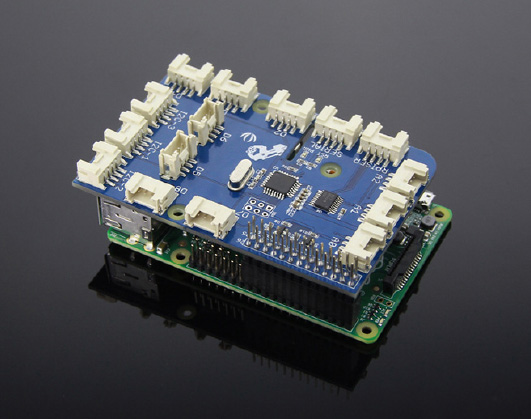
Figure 3 GrovePi+ mounted on a Raspberry Pi
The GrovePi+ has a female pin connector that lines up with the GPIO pins on the Pi. The board even includes a slit to allow using the dedicated camera connector on the Pi that the shield is covering.
With the shield in place you can easily connect a wide range of moduleseffortlessly to your platform of choice such as the Raspberry Pi. The shield can be purchased separately or as part of a kit. Dexter and Seeed sell a kit with the shield and 12 modules.
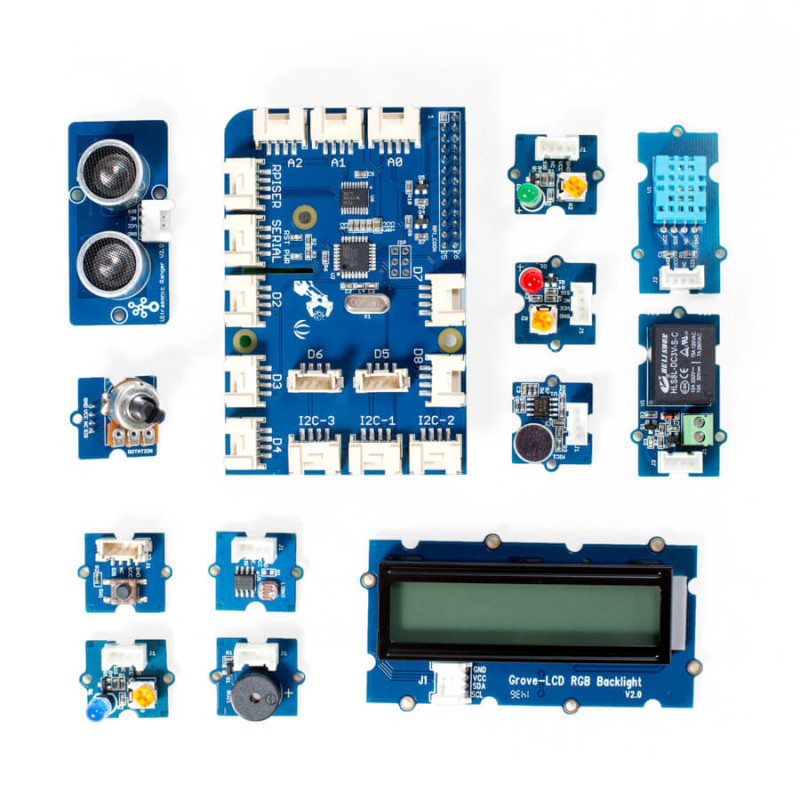
Figure 4 The Basic GrovePi+ Kit
Dexter began as a maker of Lego Mindstorms add-ons before they added the Raspberry Pi to their lineup. They market their products to the education field and they have a 3-month loaner program for educators. A kit containing the basic kit and a Raspberry Pi 2 is what Dexter was kind enough to loan to me under this program.

Figure 5 GrovePi+ Starter Kit for the Raspberry Pi.
With the hardware in place the next thing I needed was a Java library that I could use to interact with the Grove modules. The Dexter web site lists only Scratch, Python, NodeJS, Go, C and C# as supported languages. The next article will look at a mashup between Payara Micro and the GrovePi+ in Java.
Bibliography:
- http://www.seeedstudio.com/
- http://seeed.cc/
- http://www.seeedstudio.com/wiki/Grove_System
- http://www.seeedstudio.com/wiki/GrovePi%2B
- http://www.dexterindustries.com/
- http://www.dexterindustries.com/GrovePi/
- http://electronics.stackexchange.com/questions/158201/was-the-term-shield-in-use-for-daughterboards-before-arduino-became-popular