
The following article assumes that you have successfully assembled the GoPiGo3 robot car from Dexter Industries. I found the assembly instructions well written and the parts are quite sturdy. I expected this considering that the GoPiGo3 is aimed at the education market rather than the hobbyist and to have a product that children will work with needs to be sturdy. Having said that, I believe the GoPiGo3 is an ideal platform for the hobbyist and anyone interested in robotics and IoT. Kudos to the engineers at Dexter Industries. You can learn more about the GoPiGo3 by visiting https://www.dexterindustries.com/gopigo3/.
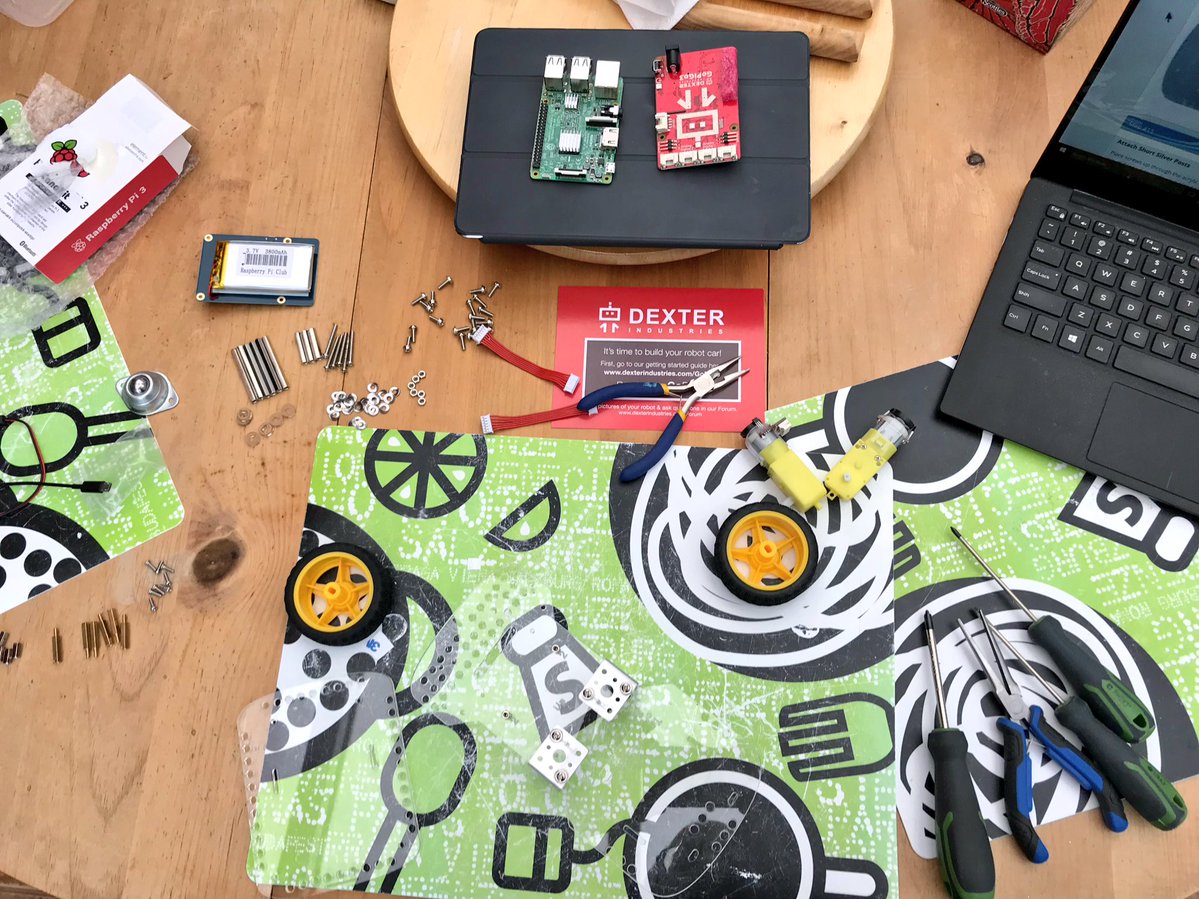
The GoPiGo3 parts on the dining room table.
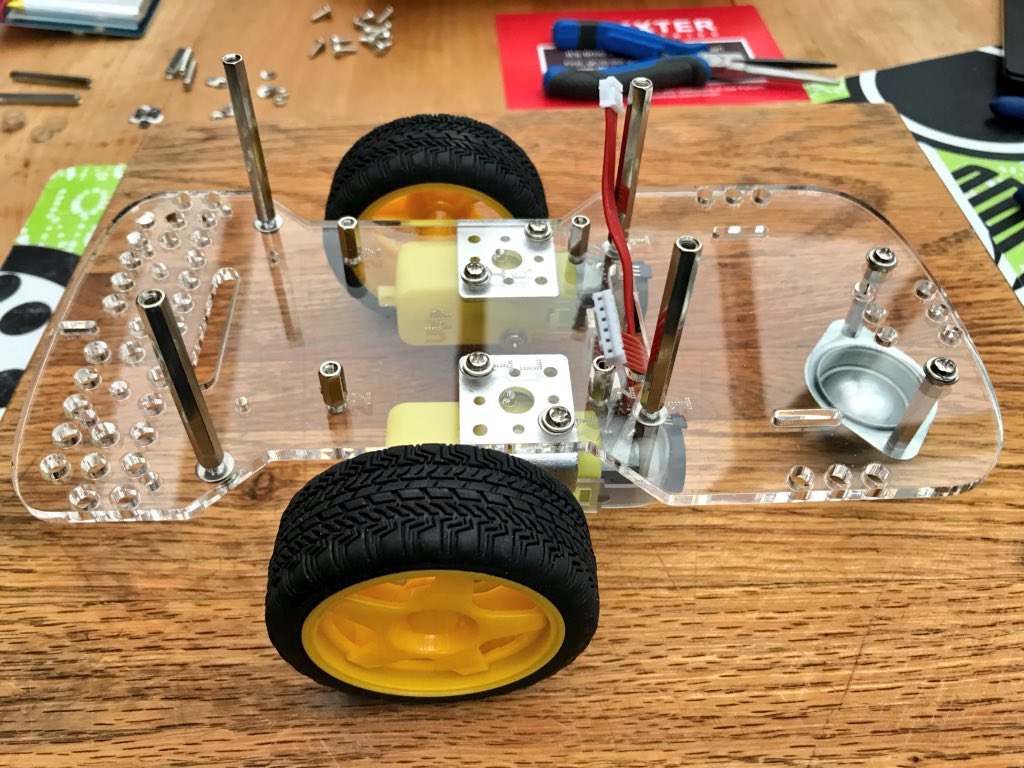
The wheels and their motor.
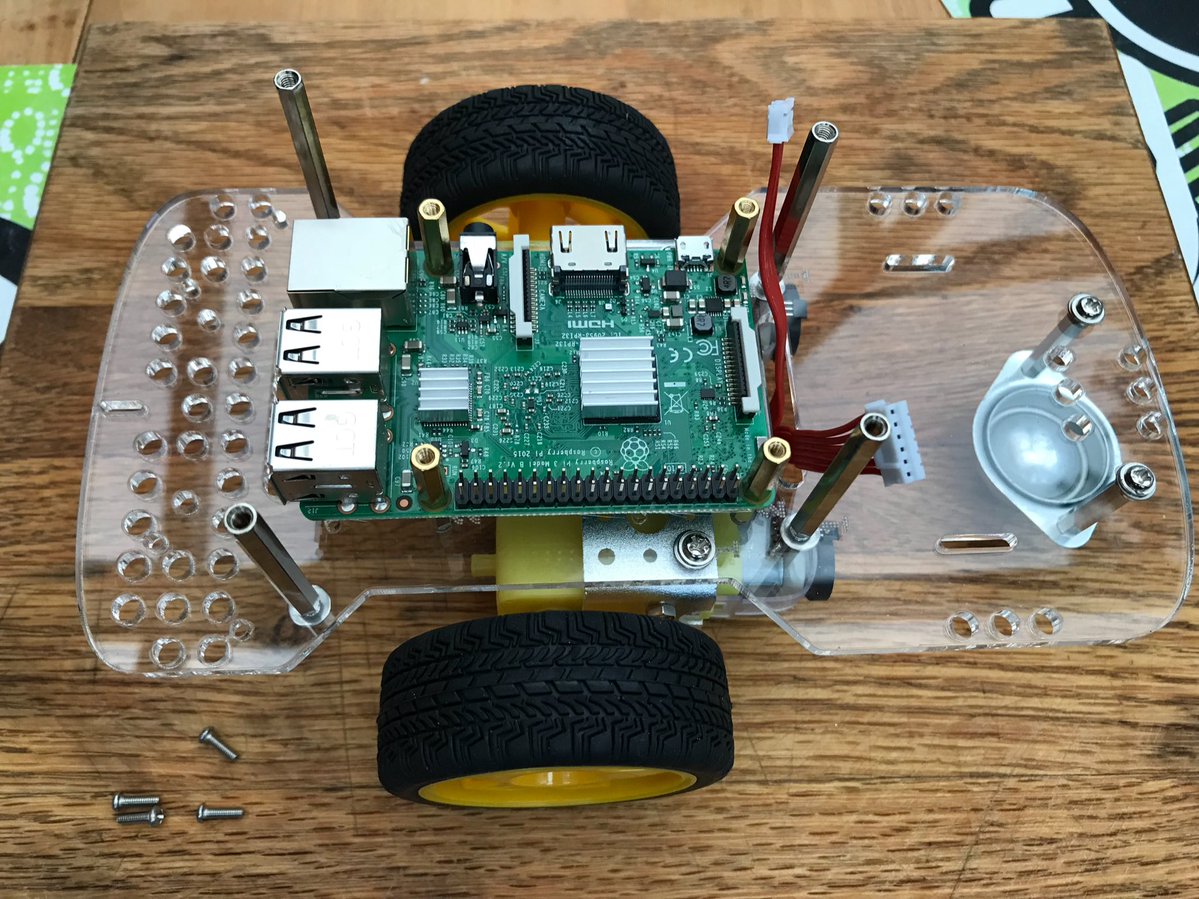
The Raspberry Pi is attached.
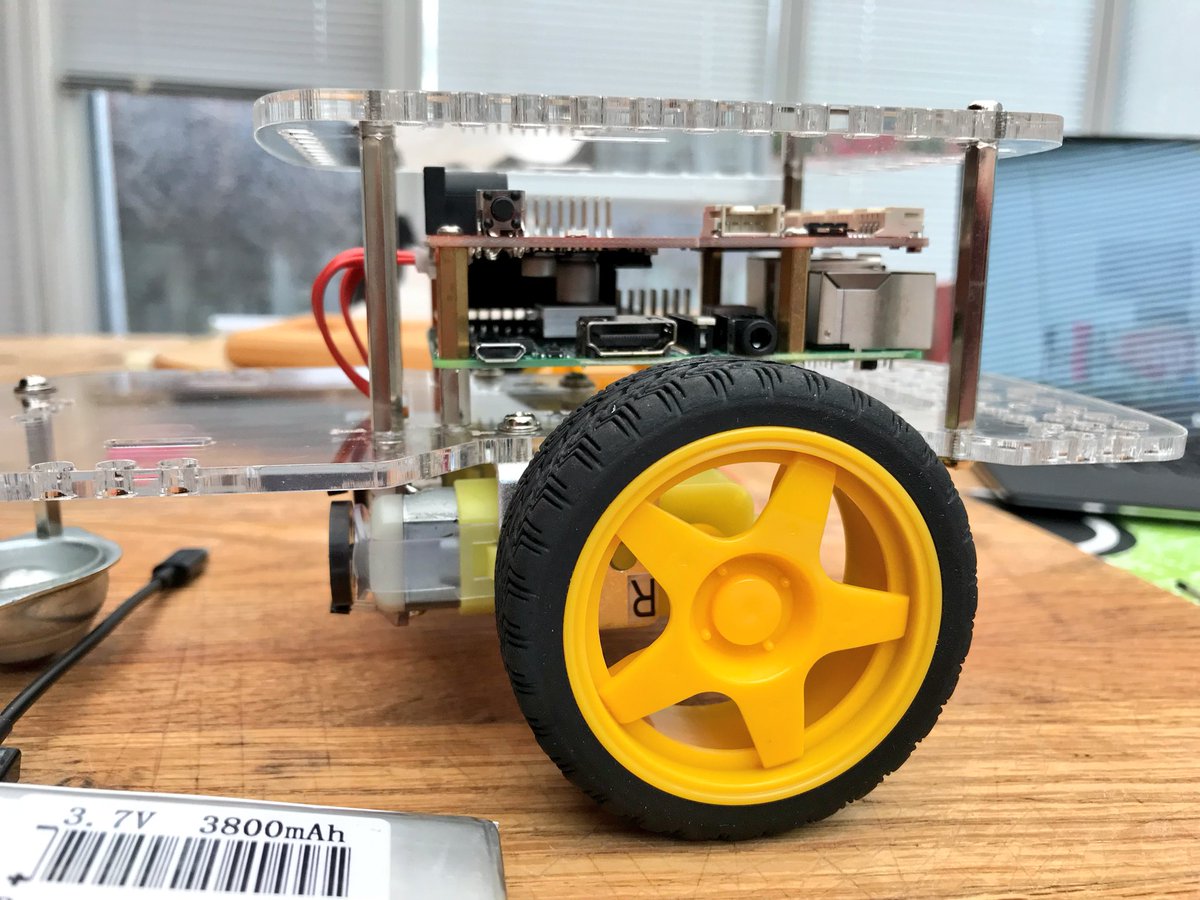
Completed with the Grove GoPiGo3 board attached on top of the Pi.
The Raspberry Pi that I am using in the car is a Pi 3 model B. This version of the Pi has WiFi built in so an external WiFi dongle is not required. The completed unit needs 12 volts to power it rather than the Pi’s usual 5 volts. The extra voltage is for the electric motors. You are expected to use 8 AA batteries. Rather than use disposable batteries I ordered an 8 pack of rechargeable batteries and an 8-slot charger from Amazon. I chose batteries that had the highest milliamp rating, 2800 mA. Rechargeable batteries are 1.25 volts so the total voltage is 10 rather than 12 volts but the car runs without any problem.
Dexter provides two different OS images that you can use. The first is DexterOS. This OS does not require you to interact with the Raspberry Pi such as adding a keyboard, mouse and monitor. When the Pi boots up it is a wi-fi hotspot that you can connect your computer, tablet or any other device that has a web browser. Once you connect to the Pi’s wi-fi you open your browser and go to http://mygopigo.com.
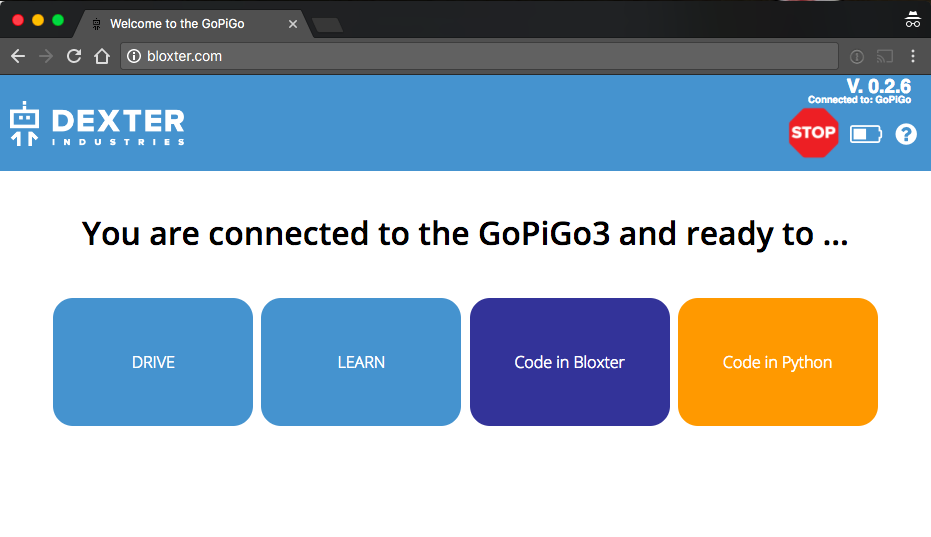
The DexterOS web page.
You can now carry on a number of tasks with the car. I was just interested in verifying that it works so I chose Drive from the web page. The page that came up presented buttons to move the car forward or backwards, turn left or right, and stop. Here is a short video of my car driving.
There are two ways to code the car using DexterOS, both with a web interface. My goal is to use Java so DexterOS was not suitable. Instead I switched to Dexter’s version of Raspbian for Robots.
Raspbian for Robots is a full-fledged, for a Pi, Linux distribution. Initially you will need to connect a keyboard, mouse and monitor to configure the Pi. Once complete you can manage the Pi remotely and no longer need the keyboard, mouse and monitor.
When you start your Pi with Raspbian for Robots you will be presented with a GUI desktop. The desktop image below is not the same as what you will see as this is what it looks like after the operating system is updated.
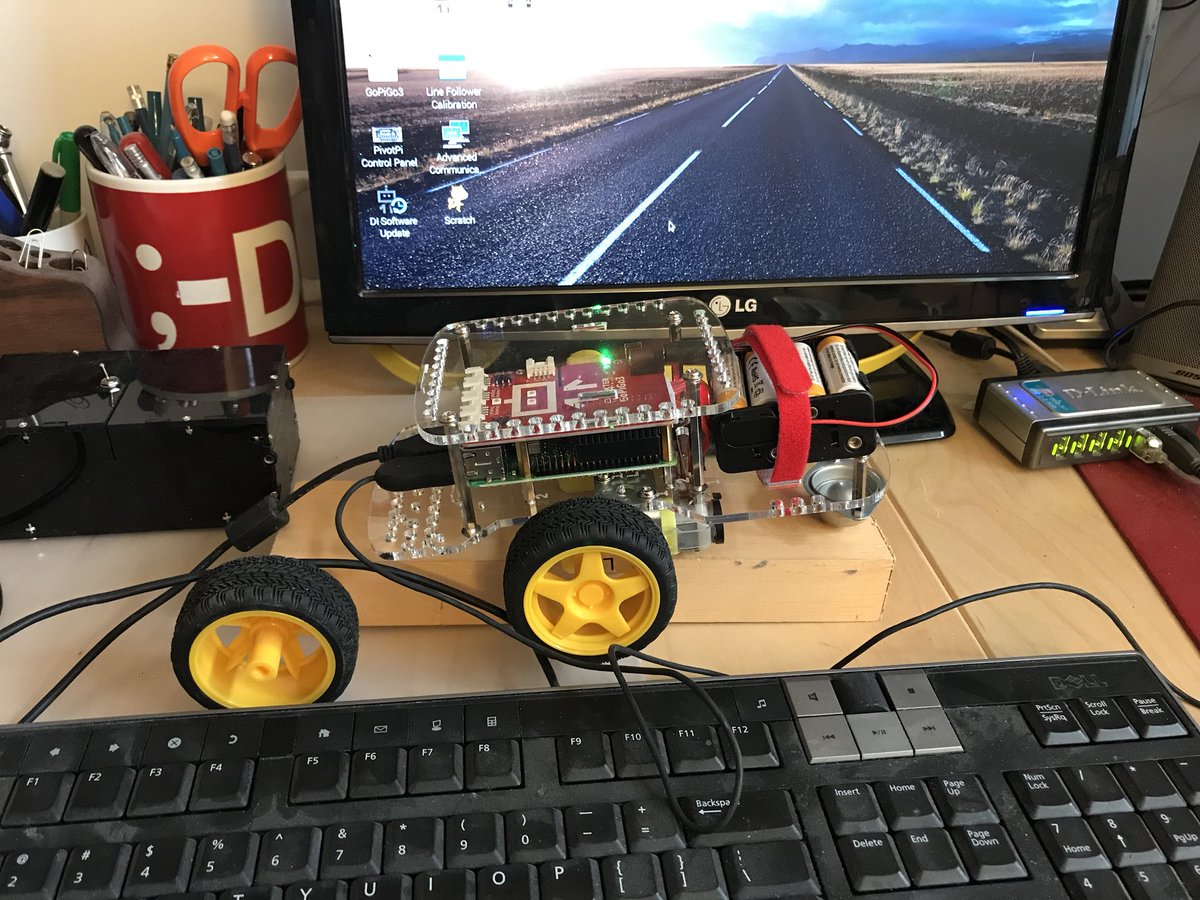
GoPiGo3’s Raspberry Pi up and running.
When your desktop comes up on your monitor the first thing to do is to run WiFi Setup that you will find on the desktop. You can now connect the Pi to your home wi-fi. Take note of the IP number your router will give your Pi. You will need this to connect remotely to the Pi. Verify that the setup is successful by opening the Pi’s browser and enter in a URL. I recommend https://www.omnijava.com. For more details on configuring the wi-fi read https://www.raspberrypi.org/documentation/configuration/wireless/.
Now you can carry out the operating system update. On the desktop you will find DI Software Update. Run this and after a few minutes your Pi will be updated with the latest version of Raspbian plus updates to the Dexter software.
Here are some strongly recommended configuration tasks that you should carry out.

Raspbian Preferences.
Clicking on the Raspberry Pi logo in the upper left corner will display a menu. Select Preferences and on the next menu select Raspberry Pi configuration. You will now see the following.

System configuration.
The first thing to do is change the password. By default the user name is ‘pi’ and the password is ‘robots1234’. As your robot will on a wi-fi network you should change the password.
The default Hostname is ‘dex’. Its not necessary to change it but I do to personalize my Pi on the network.
I uncheck Auto login: Login as user ‘pi’. Rarely should a system log in itself.
Change the Boot to CLI rather than Desktop. I do this because I will be accessing the Pi remotely and I don’t need the Pi to execute a desktop that will not be seen. The goal of this project is to control the car from either a web page or a web service in Java so a desktop is not required.
The only other configuration you may inspect and change is Localization. Here is where you can provide information on where you are in the world, your time zone, your keyboard type, and the wi-fi country.
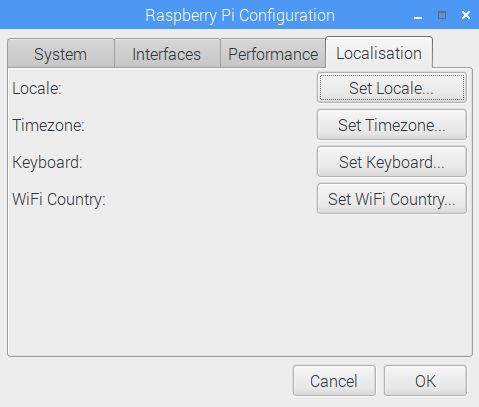
Localization configuration.
You can verify the operation of the car by running the GoPiGo3 Control Panel that you will find on the desktop. Like with the DexterOS web interface, this program, that I believe is written in Python, will let you move the car forward, backwards, let, right and stop. It should work.
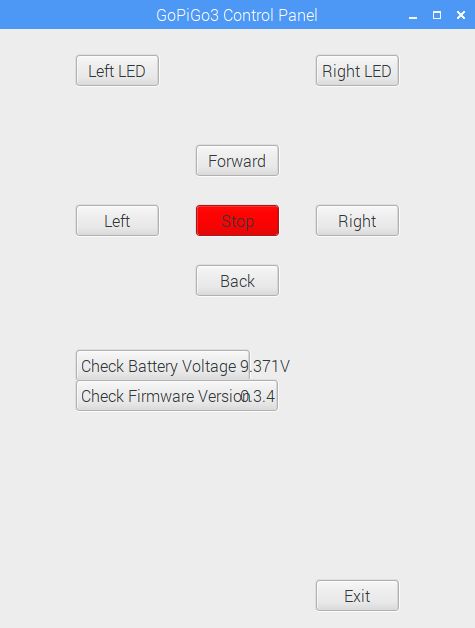
GoPiGo3 Control Panel
There is one last step in this setup. As we do not want to leave the keyboard, mouse, and monitor connected to the card we need to use a remote desktop tool. Normally the standard application is VNC. This is the choice if your development system is Linux or Mac based. It will also work fine with Windows. See https://www.raspberrypi.org/documentation/remote-access/vnc/README.md for information on setting it up.
I prefer Windows 10 for my development environment. I could use a VNC client in Windows but I prefer to use the Windows Remote Desktop (RDP) application. To do this you need a Microsoft compatible Remote Desktop server on the Pi. I recommend xrdp. It works flawlessly and does not require additional software on your dev machine. Even when I use a Mac I load up Microsoft’s Remote Desktop client for the Mac rather than use VNC. This is not a slight to VNC. Rather, as I use RDP to access multiple Windows systems I do not want to use a different client for Linux based systems. You can find the instructions to install xrdp at https://help.ubuntu.com/community/xrdp. The instruction to open the firewall for port 3389 does not work but the port is open.
Now you are ready for the first test. With the Pi still connected to the keyboard, mouse and monitor go to your Window computer, open the RDP client, enter the IP number of your Pi, and click on Connect. A window should open asking you for your user name and password.

xrdp login.
If all has gone well you should see the Raspbian desktop on your computer.

The Raspbian Desktop.
Now, shutdown the Pi. Remove the keyboard, mouse, and monitor from the Pi. Turn on the Pi. After about a minute open your Remote Desktop client on your Windows computer and connect to the Pi. If you see a desktop similar to the image above then you are ready to start coding for the GoPiGo3.
I’d like to thank John Cole and Dexter Industries for supplying me with the GoPiGo3 Basic kit. The goal is to return Java to first class language status for GrovePi and GoPiGo3 software development.